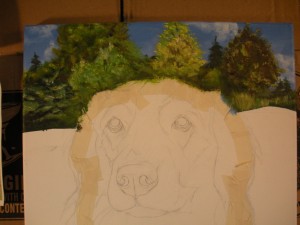
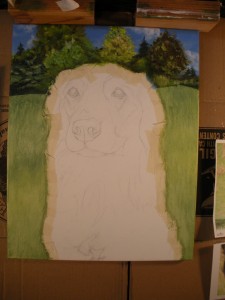
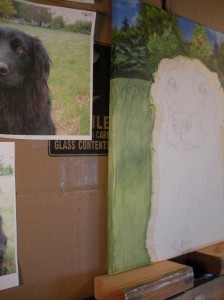
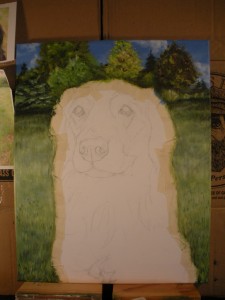
Welcome back to the second installment of my Pet Portrait Painting, Step by Step: Abbey Blog post! Now that we are going to get into the actual execution of the art, here is how it will unfold: I will, in sequence, show one or two pictures at a time with a brief explanation of what was happening at that time during the work. To enlarge these pictures just click on them to get the full view, then click them again and they will enlarge! Lets Do It!!!
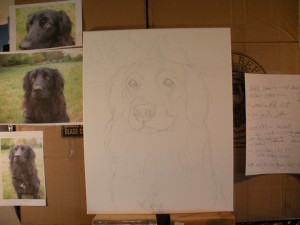
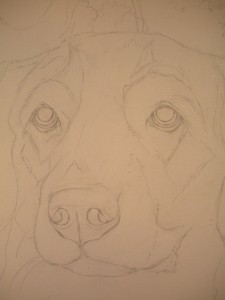
I am starting with picture #2, because Abbey #1 was, of course, the blank 16 x 20 in. canvas. The first thing I need to do is draw the lines which I will follow while painting. Here in #2, and the close up in #3, the lines have all been drawn, and at this point I am happy that my drawing is accurate, I will not stop this process until I am. The drawing is the #1 component of an Accurate portrait.
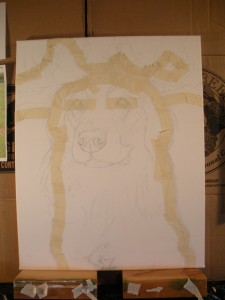
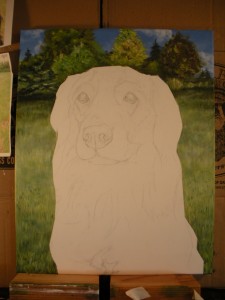
After my drawing is complete I need to tape off my animal, as seen here in picture #4…WTH does that mean Cy? Well I paint a portrait from the background (the distance) to the foreground (the front). I want Abbey to be sharp and really appear in front of what is going on behind her. With Abbey taped off I can paint, and finish the entire background with out compromising her lines. Then, when I do paint Abbey, I am literally painting her on top of and in front of the background. This makes for a more clean and convincing composition. LETS PAINT!
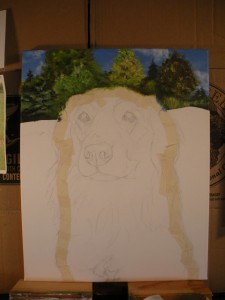
In pictures #5 and #6 I started with the Sky, farthest back. Then removed the tree line tape, and I painted the trees. These are the most distant compositional areas. I have also in this picture removed the tape line separating the grass from the tree line.
In picture #7 I am starting to move even closer to Abbey by painting the grass where she is sitting, again working from back to front. In picture #8 I am showing you that throughout the painting of this portrait I need to also paint the sides. I paint what is called a “Gallery Wrap” on all of my portraits, continuing the picture around the sides of the canvas. This gives the painting a finished look if the owner wants to hang it, as is, without a frame.
Picture #9 shows the finished background, and Abbey is still taped off. Picture #10 is to me like another blank canvas. I have finished everything but my main subject. I have removed the last of the tape, and I am ready to begin painting Abbey, the real star of the show!! In the “Pet Portrait Painting, Step by Step: Abbey” post #3, She will begin to come to life!
All of the work you saw and read about today took me approximately 15 hours to complete. Thank you for reading my Blog here on Pet Portraits By Cy. Check back next week for Blog post #3 in this “Pet Portrait Painting, Step by Step: Abbey” series. If you know some art lovers or other painters out there who may find this interesting or educational, feel free to share this. Also I will be happy to answer any questions you may have throughout this series of Blog posts, You can click the “leave a comment” link here in this Blog post or you can comment on my Pet Portraits By Cy Facebook fan page: http://www.facebook.com/petportraitsbycy
